
Installing an Infrared Heater: A Quick Guide to Efficient Heat
Discover infrared heaters now
-

Infrared Heater - Basic Series
The "Alpine Heat - Basic Series" - made in Austria -...
-
Infrared Heater - Mirror Series
The "Alpine Heat - Mirror Series" - made in Austria - offers...
-
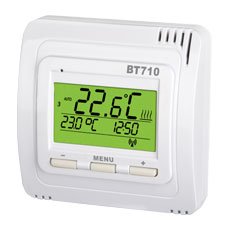
Accessories
Discover our extensive range of accessories for infrared heaters. Thermostats, controls and...


